
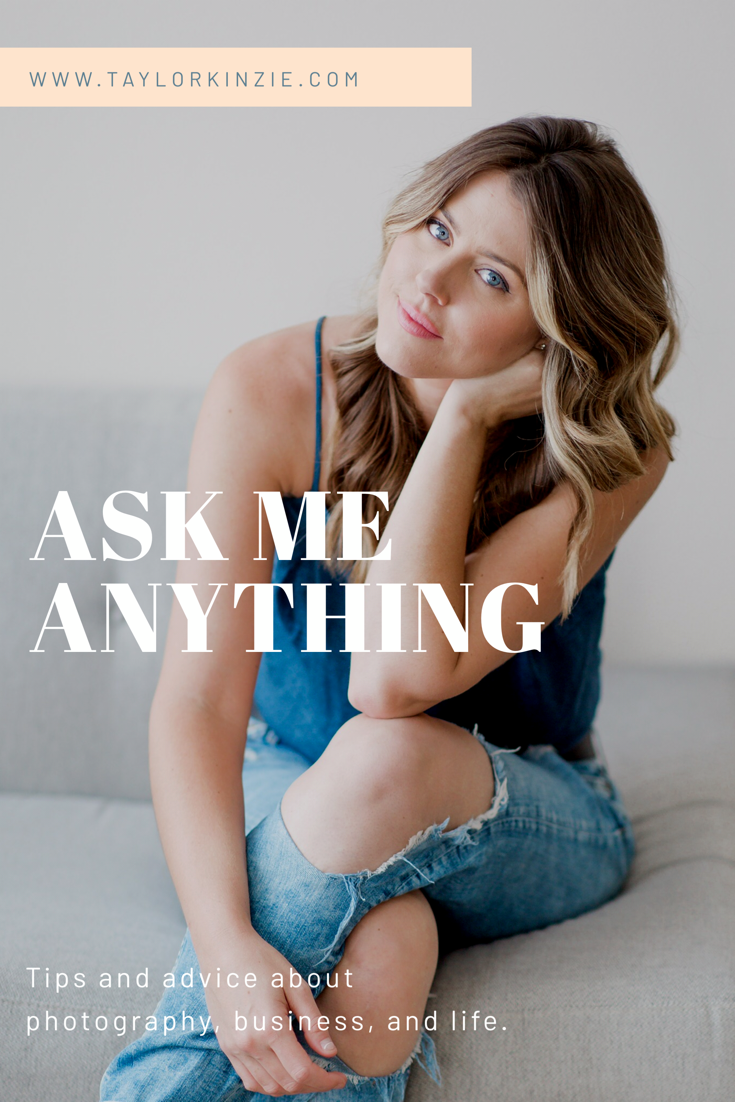
ASK ME ANYTHING | 10.14.19
HOW DID YOU COME TO FIND YOUR EDITING STYLE?
Finding your editing style is a really difficult process when you’re first starting out. I think it’s important to realize that your editing style will more than likely change through out the years as your artistry evolves. Part of your art is knowing who you are as an artist and expressing how you see the world. I’ve always wanted my images to express how I see light and shadows.
For me, editing style comes from a culmination of the artists that inspire me most. I love films with light focused cinematography and photographers who focus on use of light. One of my most influential books is “The Luminous Portrait” by Elizabeth Messina while some of my favorite movies are films by Terrence Malick. Films like “Days of Heaven” and “Tree of Life” changed the way I see light forever.
Once you’ve come to terms with HOW you see the world and how that will come through in your images, it’s important to find the tools to create it. The biggest game changer for me as far as finding my “style” and maintaining consistency with my edits has been using Mastin Labs presets. I am not paid by them to say that either…their presets have just really worked for me and I always find myself coming back to them.
After many years of editing, I can now confidently say my style is crisp, timeless, and ethereal. Clients can count on me to deliver a consistent product that reflects what they see in my portfolio. As I grow as an artist, it’s very possible my work will change too…and that’s okay! That’s part of the magic of being an artist!

This photo inspires me because she looks like she is wrapped in light. Her pose is ethereal and angelic as the window light pours in around her. You can see the subtle textures in her veil which evokes an “oil painting” quality. The edit is intentionally bright to maintain consistency with my style, however, this edit could easily have been edited to intensify the shadows. Edited with Mastin Labs Presets.
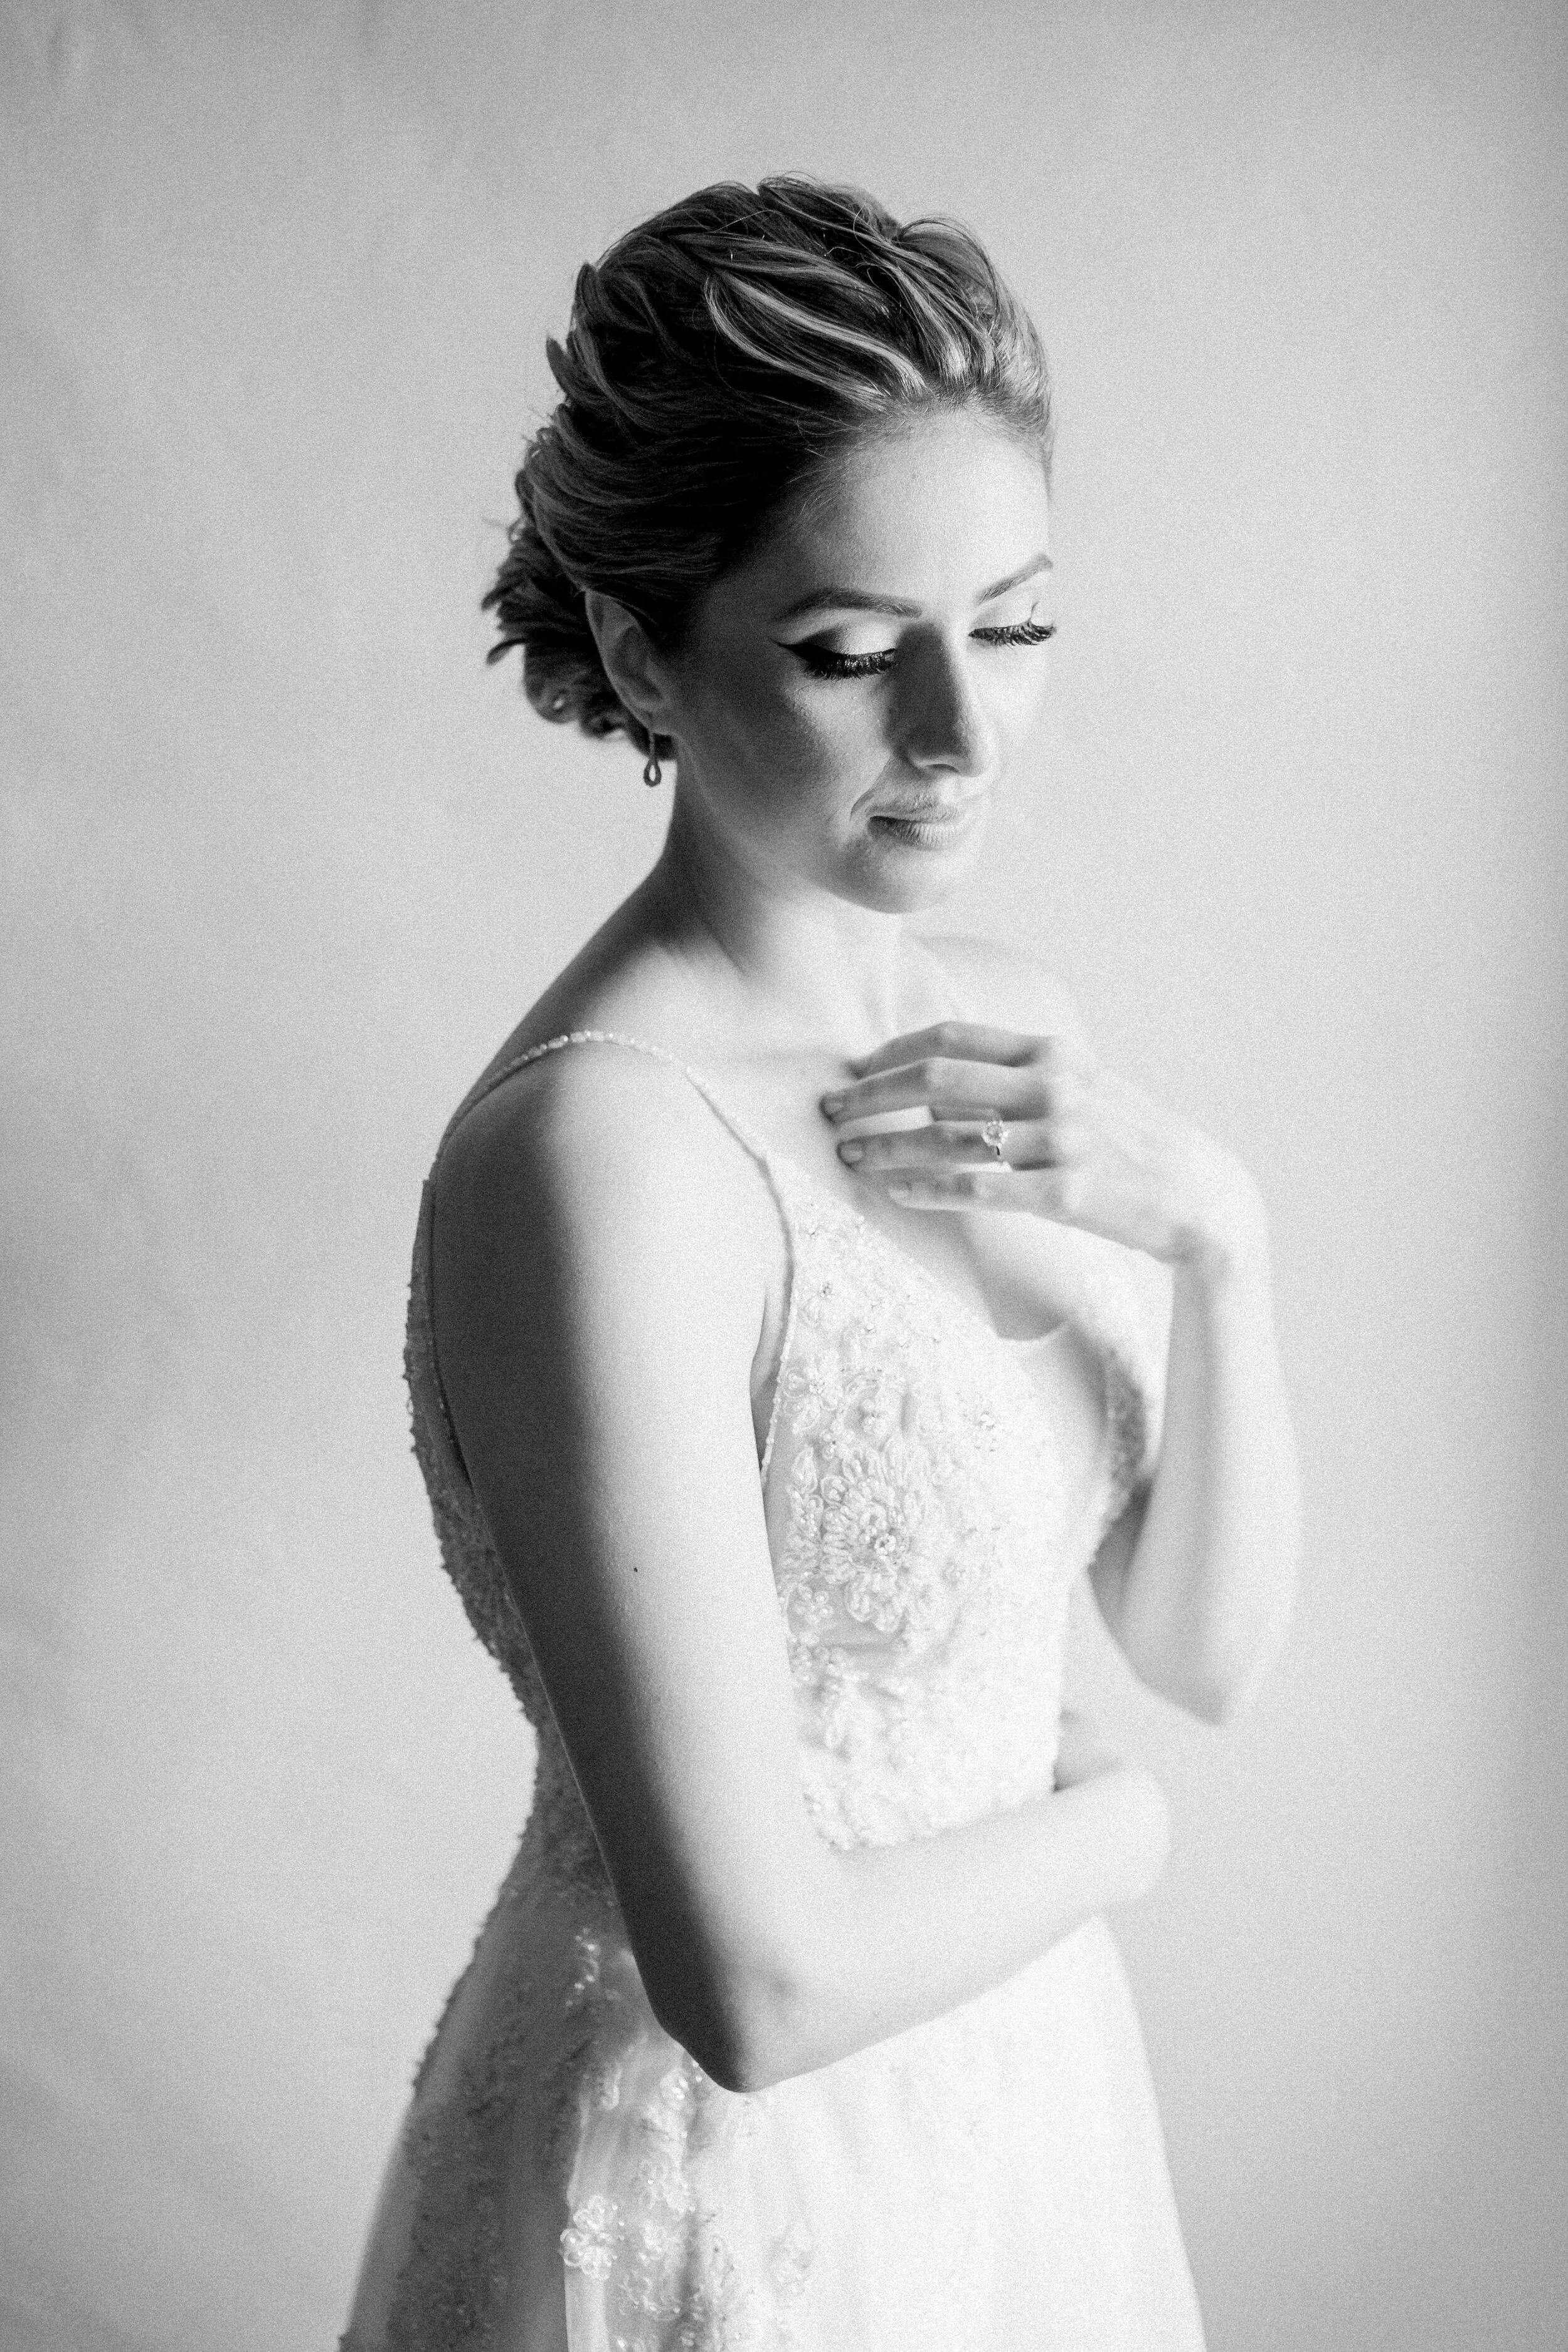
Here is one of my beautiful brides from a recent Hummingbird Nest Ranch wedding. I posed her by a window to find light that would illuminate her face. I turned her ever so slightly to create a small triangle of light on the apple of her right cheek. This is called “Rembrandt Lighting”. The shadows around her are soft and, again, creates the look of a painting. Edited with Mastin Labs Presets.
HOW DO YOU ACHIEVE PERFECT FOCUS EVERY TIME?
HA! I don’t! I tend to take a large sequence of the same image and 9 times out of 10…one or more of them is sharp. I shoot very wide open ( at an aperture of 2.8 or wider) so nailing focus at f1.4 can be incredibly difficult…especially when you’re shooting a moving subject.
The most important thing to remember when you’re looking for sharp focus in your images is to remember to place your focal point on the subject’s eye. If the intention of the image is to have the viewer look at the subject’s face and the eye is not sharp, that picture usually isn’t useable for me. I want to be able to see the “catch light” in the subject’s eye to draw the viewer in more.
It’s also important to know your settings! If you’re shooting at a slower shutter speed 1/250s or slower, it’s going to be difficult to nail focus/sharpness on a moving subject. If you’re shooting a movie subject, your shutter speed should be 1/250s or faster depending on how fast they’re moving. You can adjust your ISO and Aperture from there.
Making sure your lenses are working properly, and even calibrated to your camera, can also help nail focus.

This image from a recent Estancia La Jolla Wedding was probably taken at f1.6. The couple is not moving and they are standing on the same focal plane, making it easier to get sharp focus on both. I placed my focal point on the bride’s eyes when I took this shot.

In this image from a recent France wedding, you can see that the subjects are moving. This was taken at a shutter speed of 1/320s or higher to freeze the movement. I placed my focal point on the subject’s heads and walked toward them as they ran away from me to try to maintain the same focal length. If I had wanted to capture a bit of “blur” in their movement for artistic purposes, I would have set my shutter speed to 1/100s or slower.